WE OFFER TWO WORDS OF ADVICE: BE PREPARED.
Being prepared and involved will help ensure that the process is done smoothly and efficiently. Knowing what to expect will also be a lot less stressful on you, your family, and your home. Get ready for the day that your new laminate flooring will arrive. Your understanding of the basics of installation will increase your knowledge of the process and enhance your confidence in the professionals working in your home.
LET THE PROS DO THE JOB.
We recommend that a reliable professional is called to install your laminate flooring. That way you can be assured of a beautiful, efficient, and correct installation. Installing laminate floors is a skill that is developed through years of experience.
FIRST, YOUR SUBFLOOR IS INSPECTED.
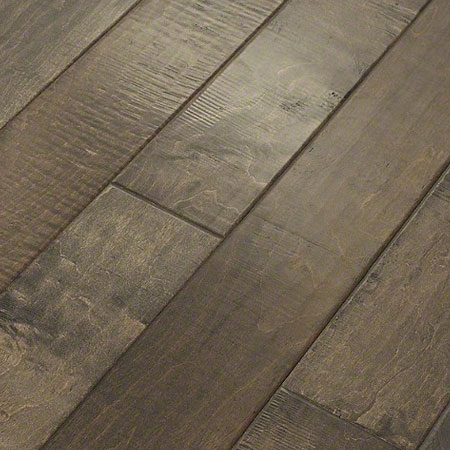
The first step an installer will take is to closely inspect your subfloor for any imperfections. While no floor is perfectly level, the subfloor should be checked for any gaps or ridges that could cause problems. Your floor will then be cleaned. The installers will also make sure that the laminate planks or tiles have had sufficient time to acclimate to their new surroundings. Your planks will probably be delivered days ahead of installation.
UNDERLAYMENT IS THE NEXT STEP.
The installers will then put down an underlayment directly over your subfloor. This underlayment allows the floor to expand and contract with changes in temperature and acts as a sound and moisture barrier. The underlayment is typically rolled out and taped together at the seams. Installers will cut the pieces of underlayment where needed with a precision utility knife to make a perfect fit.
LAYING THE LAMINATE PLANKS.
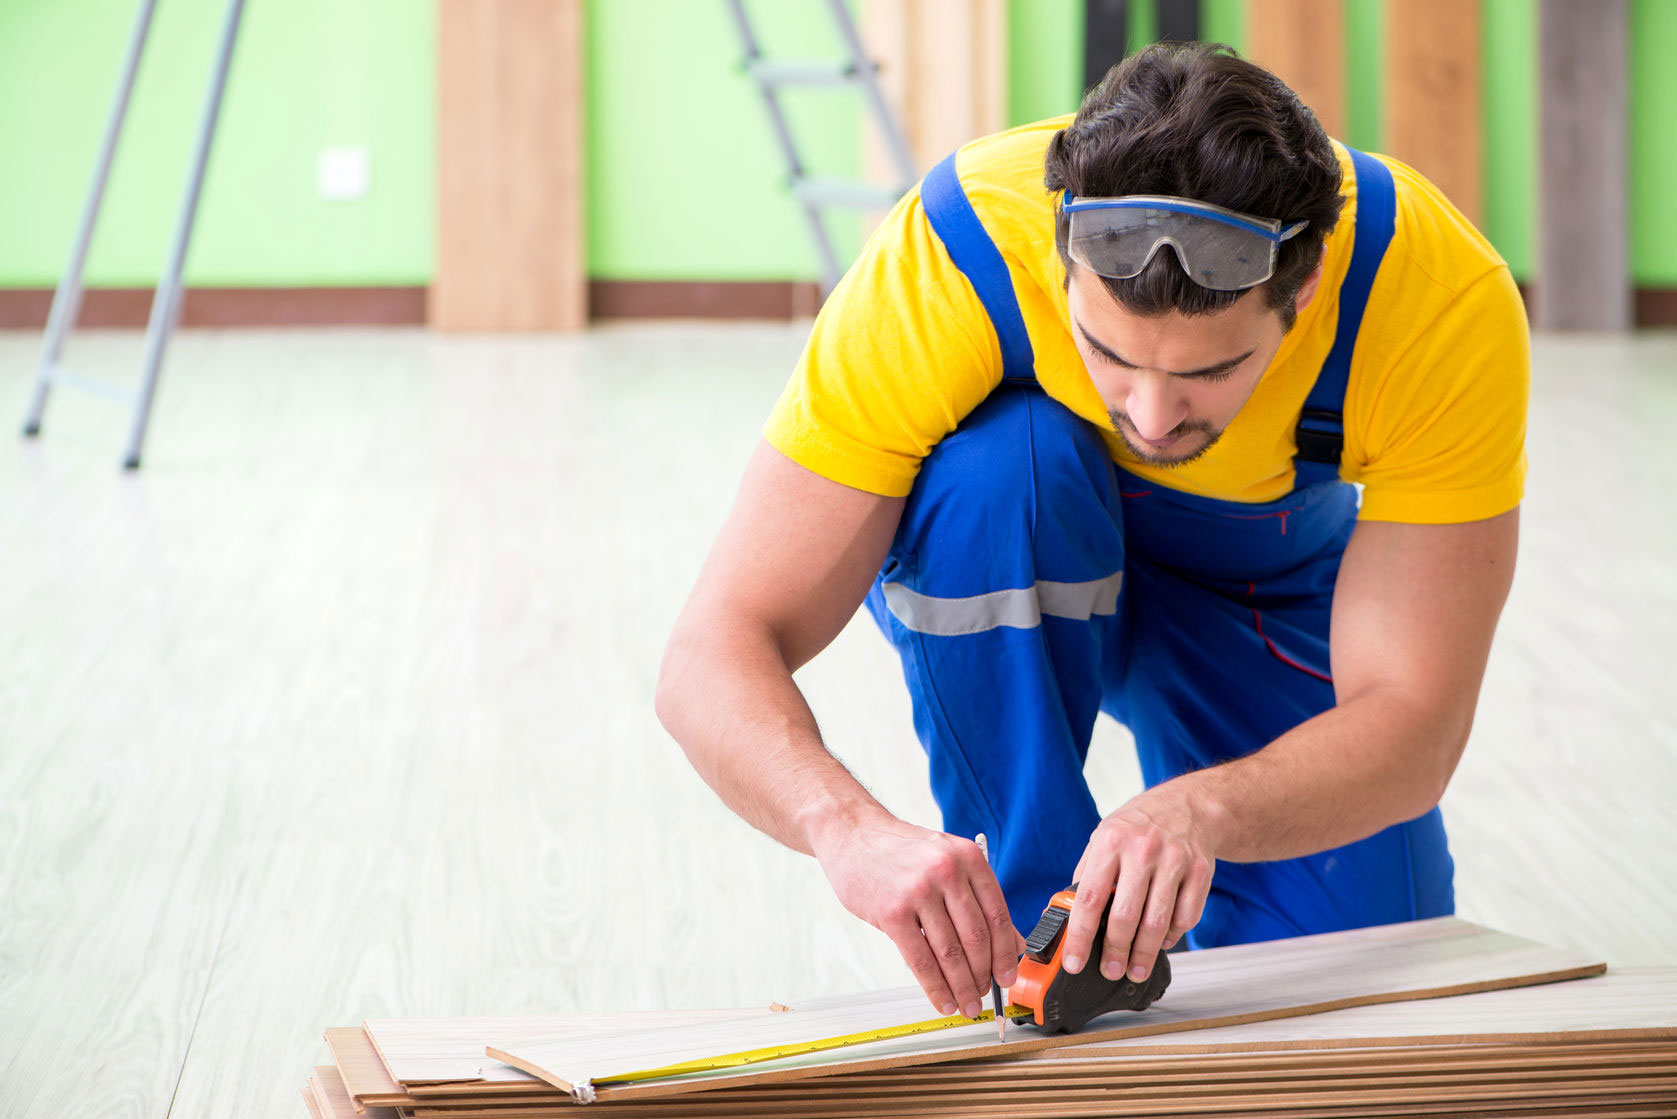
Installers will typically begin in the left corner of the area and leave a minimum ¼” space between the flooring and the perimeter walls. This is done because the laminate requires space around the edges of the room to expand. If the floor is touching or too close to a wall, it can buckle in the middle. Along the wall, the installers use spacers as they work. This ensures the accuracy of this perimeter space. They will use one spacer for each square foot. Once your floor is fully installed, they remove the spacers and cover the perimeter gap with a trim or wall base. As the installers lay the planks or tiles in the desired pattern, they will carefully measure and precisely cut them to fit.
As previously mentioned, many laminates today don’t require glue for installation. These glueless products are easy to install. The installer simply puts down an underlayment and the laminate interlock to each other one at a time. For floors that require glue on the sides of the planks, the installers begin by gluing the first two panels in the first row together. As they glue each plank, they apply clamps to hold the pieces together. Once the floor is completed and the glue is dry, the installers will remove the spacers.
To finish the floor, the installers add molding to cover the perimeter gap and install any additional trim pieces needed in doorways or where the laminate meets a different type of flooring.
WHAT TO EXPECT BEFORE INSTALLATION DAY.
Remove all furniture and other objects from the areas where the installation will take place. If you are removing your current floor covering, do it at least one day prior to the arrival of your hardwood product to allow for cleanup and floor preparation. If removing old carpet, please leave tack strips in place and pull out the staples from the floor. In many cases, moldings and baseboards need to be removed for the laminate installation.
Your existing subfloor may need to be prepared to receive the laminate flooring or a new subfloor may be required. It is important that the subfloor be as clean and level as possible. All laminate products need to be acclimated to the new environment for at least four to five days prior to installation. The area of installation must be climate controlled and indoor humidity should be maintained between 45-65%.
WHAT TO EXPECT DURING INSTALLATION.
Plan to be home on installation day. Be prepared to be available in case the installers have questions. Your installers will use a variety of tools that can make the work area hazardous. Please be sure that children and pets are kept out of the area on installation day.
When laminate flooring is installed, there is always the possibility that the doors may not clear the new floor and swing freely. Some installers will remove doors in order to install the laminate and rehang them. You may need to arrange for a carpenter to shave or cut down doors to ensure clearance.
Prior to the completion of the installation, do a walk-through with the chief installer. This will give you the opportunity to ask questions and to be clear on any final details.
WHAT TO DO AFTER INSTALLATION DAY.
Good ventilation should be established for 48-72 hours after installation. Usually, the waste materials are collected by your installer and left at your trash collections site but check with us, so you are clear about the cleanup. Painted baseboards, woodwork, and paint may need retouching after the installation is complete. If necessary, this is your responsibility.